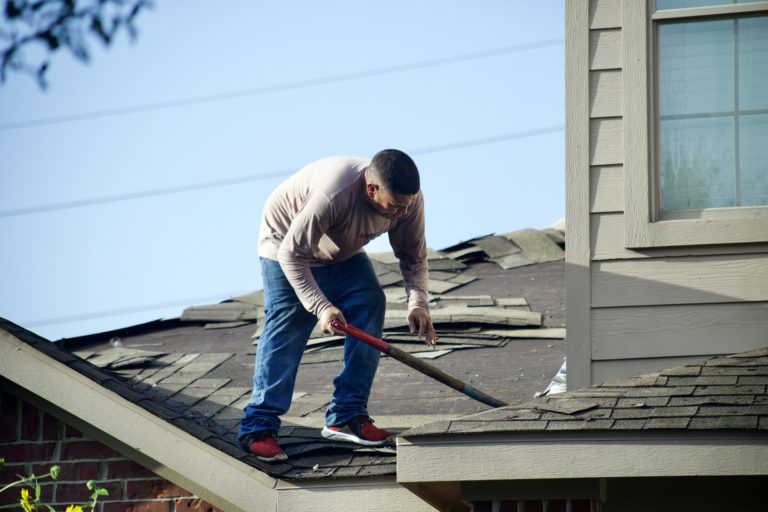
Replacing your asphalt shingle roof can be a big task, but with some careful planning, you can make the process smooth and stress-free. Whether your roof is showing signs of wear and tear or has suffered severe storm damage, knowing what to expect and how to prepare is crucial.
In this guide, we’ll walk you through the steps to get ready for your roof replacement. From understanding the materials and costs to choosing the right timing and preparing your home and yard, we’ve got you covered. By following these tips, you’ll ensure a successful roof replacement and protect your home for years to come.
Understanding the Materials and Costs: What to Expect
When preparing for an asphalt shingle roof replacement, it’s essential to understand the types of materials and their costs. Asphalt shingles come in various grades and styles, each with different durability levels and price points. Three-tab shingles are the most basic and affordable option, offering a traditional look and decent lifespan. Architectural shingles, on the other hand, are thicker and more durable, providing better protection against harsh weather conditions. They also add a dimensional appearance to your roof, which can enhance your home’s curb appeal.
Costs can vary significantly based on the materials you choose and the size of your roof. With the price of materials and labor increasing dramatically over the last five years, you can expect to pay between $3,000 and $8,000 for materials alone. Higher-end options, such as premium architectural shingles, can push costs higher.
It’s also smart to budget for unexpected expenses, like wood decking repairs or enhanced ventilation, which may only become apparent once the old shingles are removed.
Preparing Your Home and Yard for Roof Replacement
Getting your home and yard ready before the contractors arrive is crucial for a smooth roof replacement. Start by trimming any trees or branches that hang over your roof. This not only provides easier access for workers but also reduces the risk of falling debris during the installation. Next, clear your yard of any outdoor furniture, grills, and gardening tools to make room for the shingles and other materials that will be delivered.
Inside your home, take down pictures and secure any items on shelves, as the work on your roof can cause vibrations that may knock things loose. Consider covering your belongings in the attic with tarps or sheets to protect them from dust and debris that may fall through during the project. Lastly, inform your neighbors about the upcoming work, so they’re prepared for the noise and any potential disruptions. Taking these steps will help ensure a smooth process and keep your property safe during the roof replacement.
Choosing the Right Time and Weather for Your Project
Timing is crucial when planning an asphalt shingle roof replacement. Ideally, you’d want to schedule the work during a period with favorable weather conditions. Spring and early summer are typically the best times for roofing projects. The temperatures are moderate, which is perfect for the installation process, ensuring that the asphalt shingles adhere properly. Additionally, there is usually less rainfall during these seasons, reducing the risk of weather-related delays.
Before setting a date, check the local weather forecast. Avoid scheduling your roof replacement during periods known for heavy rainfall or extreme temperatures. Roofing in winter can be challenging due to snow and ice, which can make the job dangerous and less effective. Similarly, extremely hot weather in midsummer can cause the shingles to soften, making them more difficult to work with. Planning ahead and choosing the right season will help ensure a successful and timely roof replacement.
Steps to Take After the Roof Replacement Is Complete
Once your new asphalt shingle roof is installed, there are several steps you should take to ensure it stays in good condition. First, inspect your property for any leftover materials or debris that may have been missed during the cleanup process. Make sure all nails, shingle pieces, and other materials are properly discarded to prevent any hazards.
Next, take a close look at your gutters and downspouts. Roofing work can sometimes cause debris to fall into these areas, possibly leading to blockages. Clear them out to ensure proper drainage. It’s also a good idea to do a visual inspection of your new roof from the ground. Look for any signs of damage or issues that need to be addressed. If you notice anything out of the ordinary, contact your contractor promptly to resolve the problem.
Conclusion
Preparing for an asphalt shingle roof replacement can seem overwhelming, but taking the right steps will make the process much smoother. By understanding the materials and costs, preparing your home and yard, choosing the best time of year, and taking care of post-replacement tasks, you can ensure your roof lasts for many years.
At Lighthouse Exteriors, we’re here to help you through every step of your roofing project. Contact us today to get expert advice and quality professional roofing services for all your roofing and exterior needs. Let’s get started on making your home safer and more beautiful.


